


How to setup clickable images in the AI-generated assistant?
Learn to set up clickable images for your AI-generated assistant easily with our step-by-step guide. Elevate user experience today!
In this article, we will be going through how to set up a clickable image for the AI-generated assistant.
What is the clickable image?
An image or an image area can be used as a link known as the clickable image.
In webchat, we can mark an area of the image to be linked to the virtual assistant content (similar to button/ quick reply feature)
Using images helps to visualize the conversation and draws attention and enhance the user experience.
Clickable Images can be used in various fields such as:
- Selection of body part- to indicate the area of the disorder.
- Clickable infographics – for the marketing purpose.
- Selection of area in the city to stay
How to setup clickable images in the AI generated assistant?
Step 1: Create an image map
An image map is an image with clickable areas. The areas are defined with one or more <area> tags.
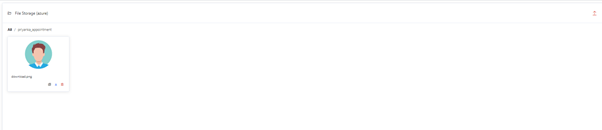
Step 2: In the Keyreply Dashboard, save the image in the Files menu.
- Click the Files menu.
- Create a folder by clicking Folder icon in the right corner, input the folder name and save it.

- Once Folder is saved successfully, the system will display it with all other existing folders.

- Click the Folder
- To upload the image to the Folder, click the Upload icon, select the image from local drive, and confirm the upload.
Step 3: Create content node with image URL (using HTML format).
- Add Image source and usemap, which is created in Step-1, in the content node.
- Add Image link from the Files and add it as the image source.
- Add the “usemap” value starts with a hashtag # followed by the image map’s name; this is used to create a relationship between the image and the image map.
- You can use the content node ID as the image map name.
Below is the example:
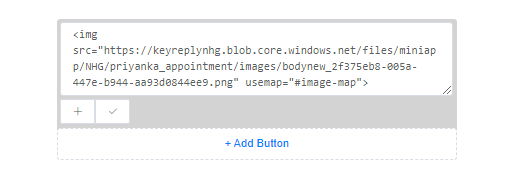
<image src=”https://keyreplynhg.blob.core.windows.net/files/miniapp/NHG/priyanka_appointment/images/bodynew_2f375eb8-005a-447e-b944-aa93d0844ee9.png” usemap=”#image-map”>
Step 4: In the Embed Code of the Widget menu
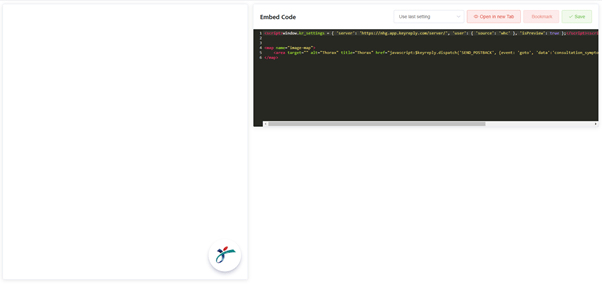
Add the generated code for image map into the Embed code. And trigger the actions using the format. Map name should be same as usemap (as used in Step-3)
- To simulate a button press, use SEND_POSTBACK
javascript:$keyreply.dispatch(‘SEND_POSTBACK’, {event: ‘goto’, ‘data’:’image_phone’});
- to simulate a text message, use SEND_MESSAGE
javascript:$keyreply.dispatch(‘SEND_MESSAGE’, { text: ‘I want coffee’});
Below is the example:
<map name=”image-map”>
<area target=”” alt=”Head” title=”Head” href=”javascript:$keyreply.dispatch(‘SEND_POSTBACK’, {event: ‘goto’, ‘data’:’clinical_doctor_recommendation’});” coords=”95,40,121,15″ shape=”rect”>
</map>
Limitations:
- it is only applicable on webchat channel.
- We cannot input javascript in the content node anchor tags directly, because it will be stripped for security reasons, so need to use embed code method to write the imagemap tag.
- Embed code needs to be manually saved and shared with other people. Your edits are only available to the user’s local browser. So, it is better to keep the generated imagemap code separately for project documentation.
- Once embed code is deployed to customer website, it is not so easy to change. Require customer’s IT team to make changes on the embed code.
- The image map coordinates are sensitive to the size of the image file displayed to the user and test it on different devices to ensure consistency.
Other alternative methods with responsive mapping: https://www.zaneray.com/responsive-image-map/
Custom SVG file with clickable zones. : https://jsfiddle.net/eLbpmsaj/